My 1941 Dodge Truck Build

Rat Rods Rule

Help Support Rat Rods Rule:

This site may earn a commission from merchant affiliate links, including eBay, Amazon, and others.
LOOKIN' GOOD !! The Caddy looks right at home there. When I mounted the Caddy in my frame, I used some leftover poly bushings for Chev pickup leaf springs for mounts, made ears to bolt to the Cad, and used a crossmember running right under the motor.
Keep the good stuff comin'.

Thanks! Your mounts look pretty good. I have the Speedway "bellow" type motor mounts that I want to utilize, but I'm thinking I might steal your idea of putting a cross member directly beneath the engine.

looking good motorhead.

i know all about those days you just had,lol.

Thanks man.

These "good days" are a part of hot rodding. LOL

Things seem more frustrating when it's 113 and humd.

Still lookin good.
Thanks Dan. The humidity was aweful yesterday. I got out of my house yesterday morning and I was slapped in the face by the humidity. Monsoons are coming!

Today was still pretty hot, but not as humid as yesterday. I actually got some work done.

-------------------------------

A little update of what went on today.

I bought some more steel in the morning. After the USA vs. Ghana game, I got to work. I think I'm about 70% with channeling the body. Hopefully I can finish it tomorrow. Anyways.....

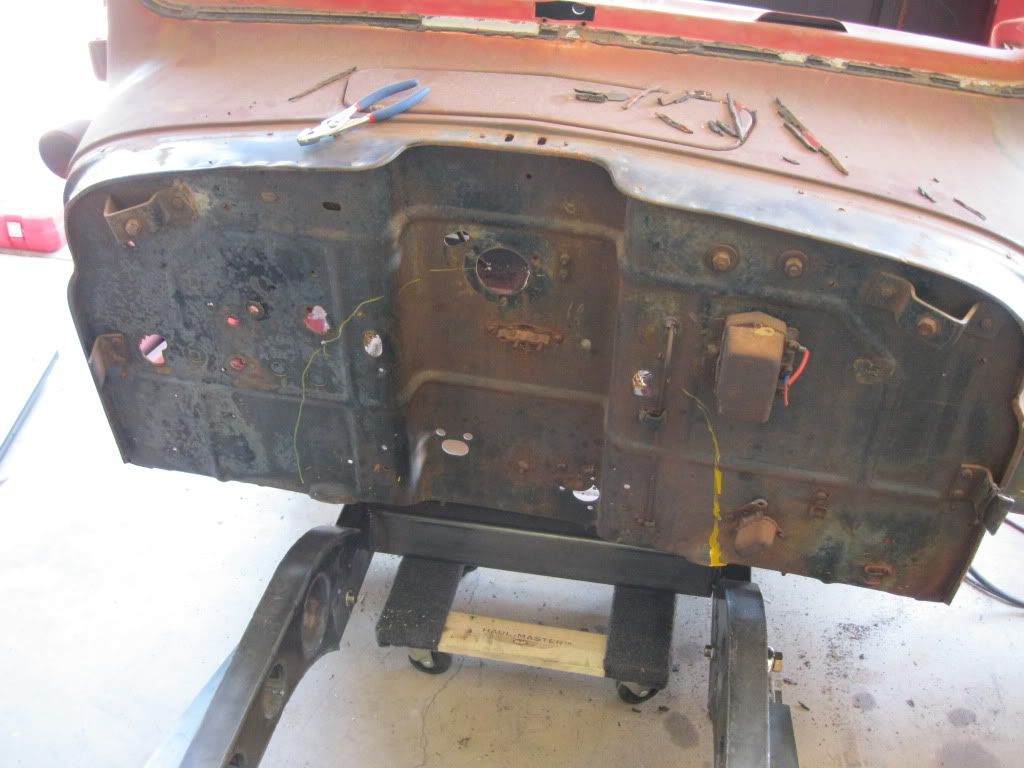
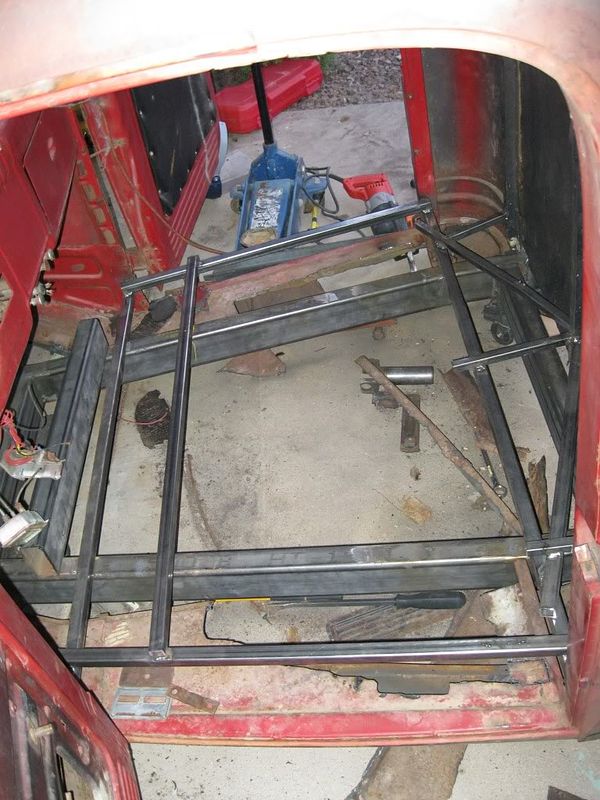
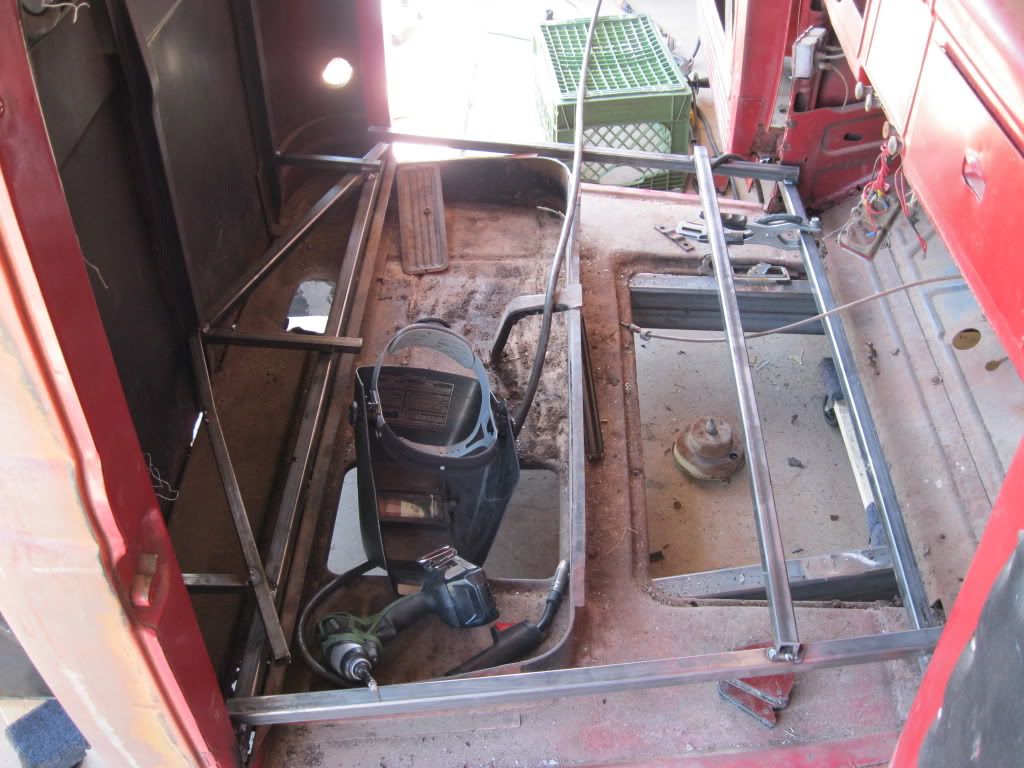
I braced the floor so nothing would move around:
IMG_0202.jpg


I had marked the firewall last night (or should I say wall of fire, since the "insulation was card board, LOL).
IMG_0203.jpg


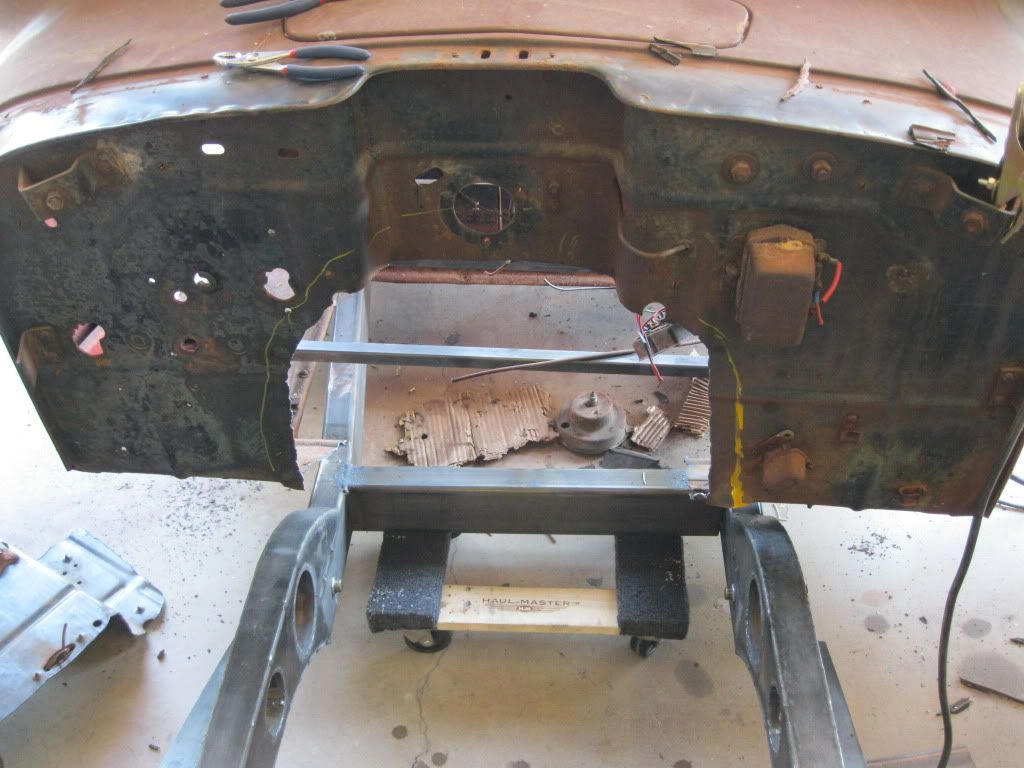
Ladies an gentlemen, this man is about to cut into a fine piece of vintage Americana with a plasma torch:
IMG_0205.jpg


IMG_0206.jpg


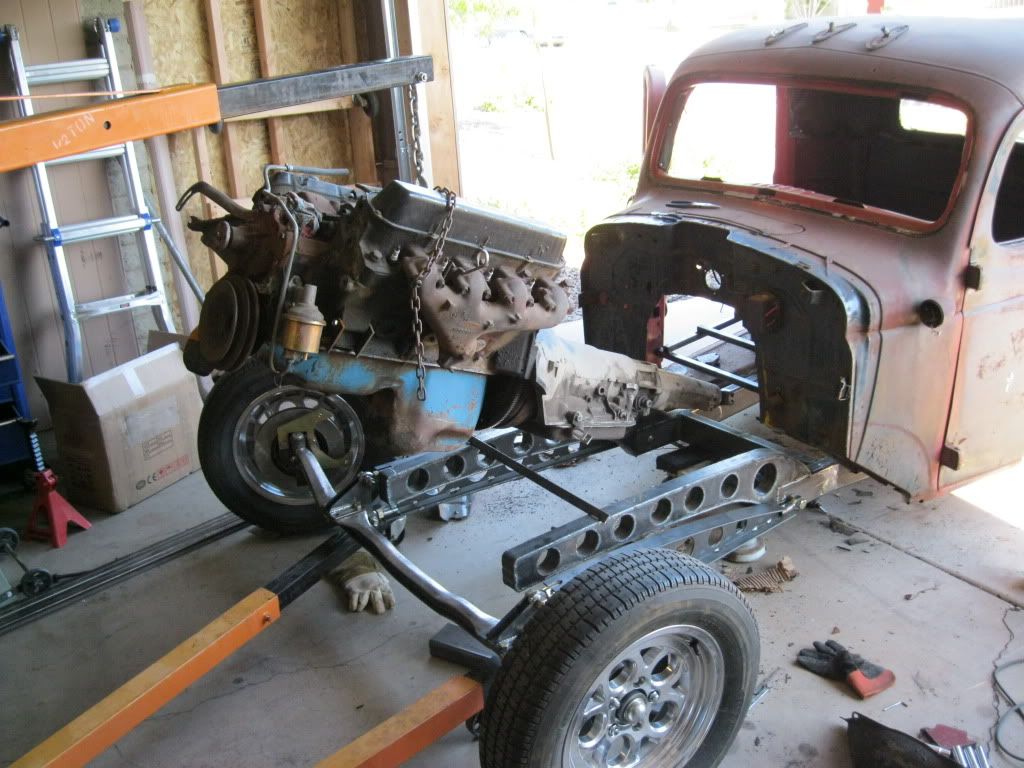
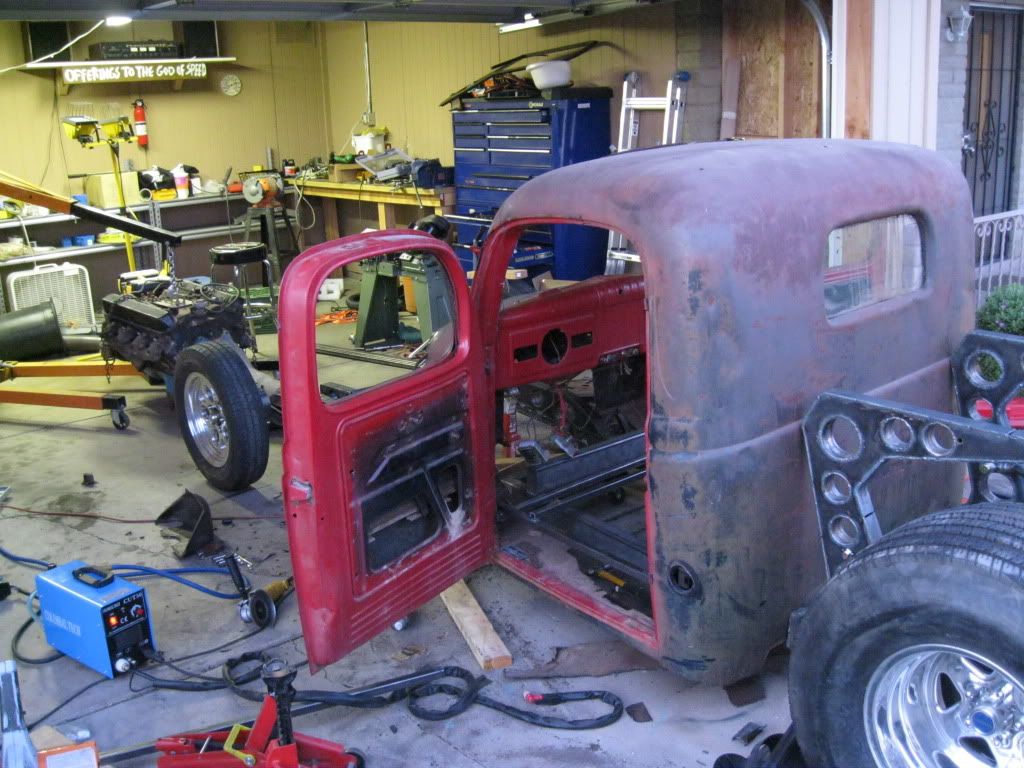
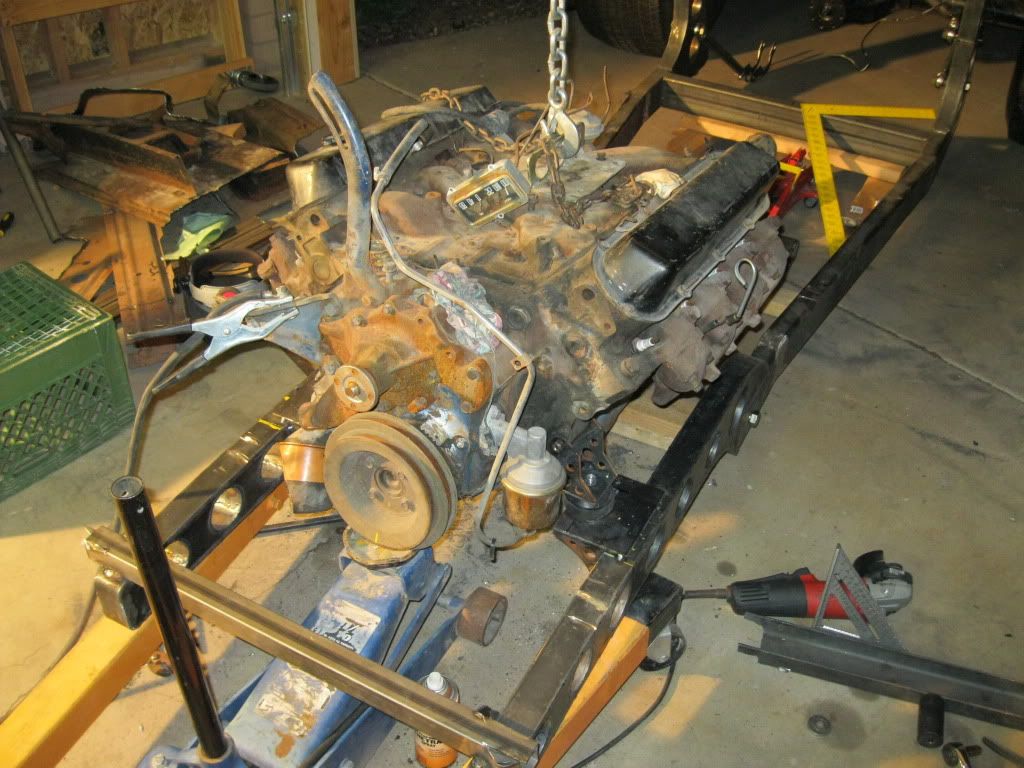
I test fitted the engine, this time with the transmission attached:
IMG_0207.jpg


The clearanced looked good, I cut some more out:
IMG_0215.jpg


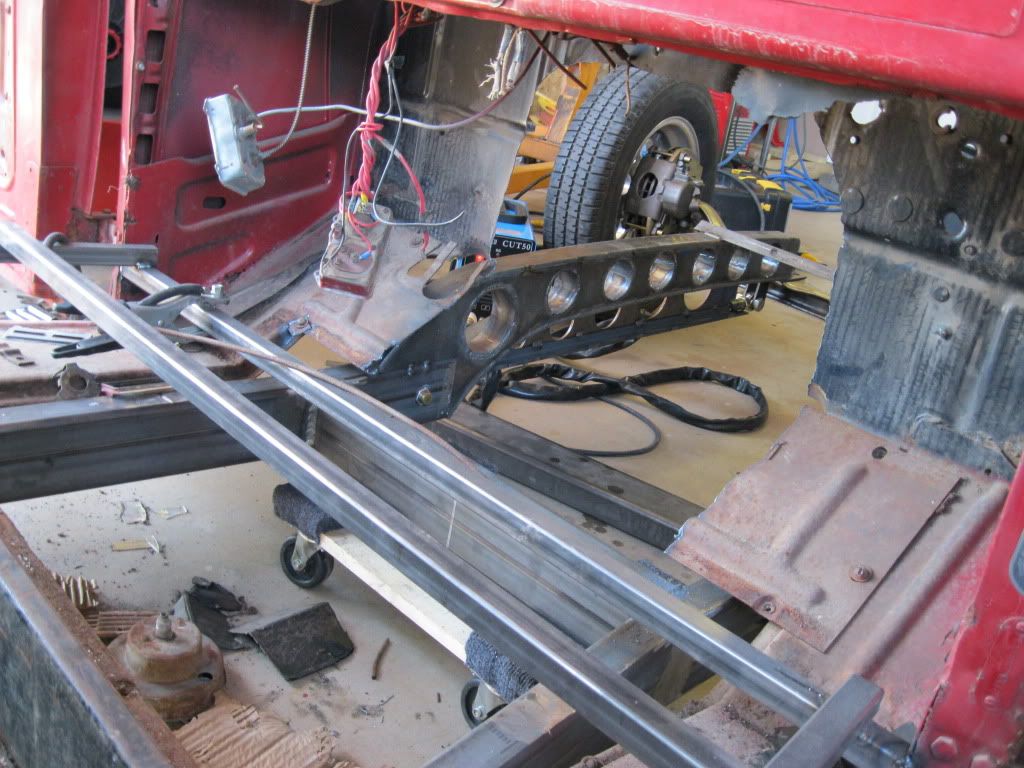
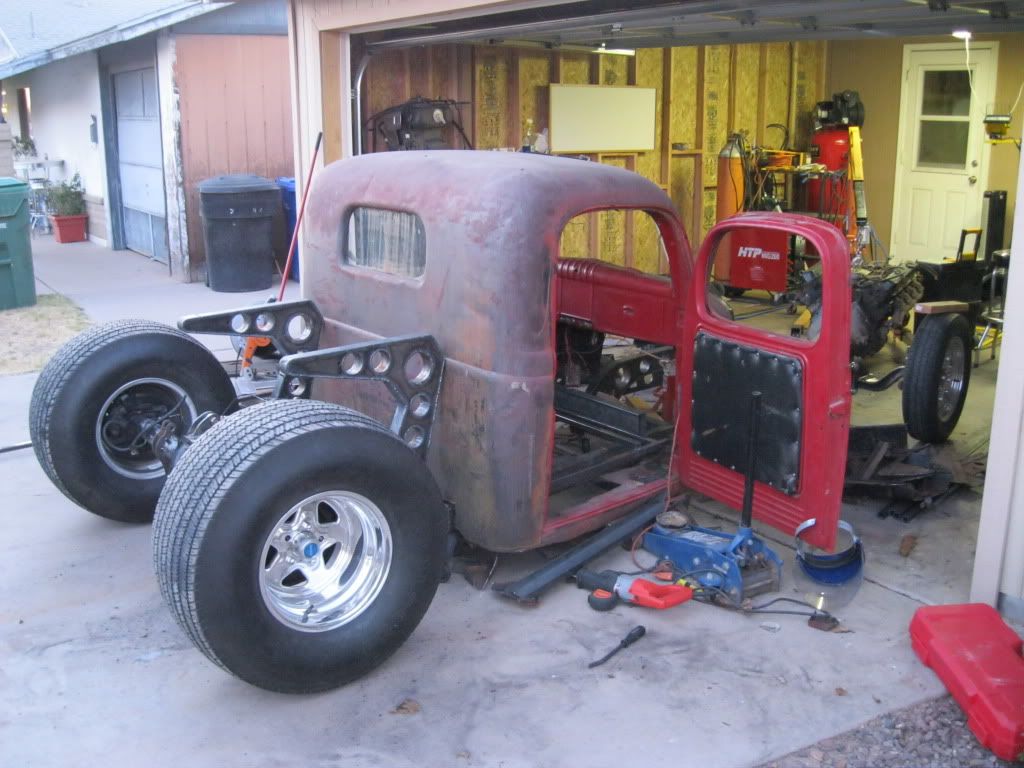
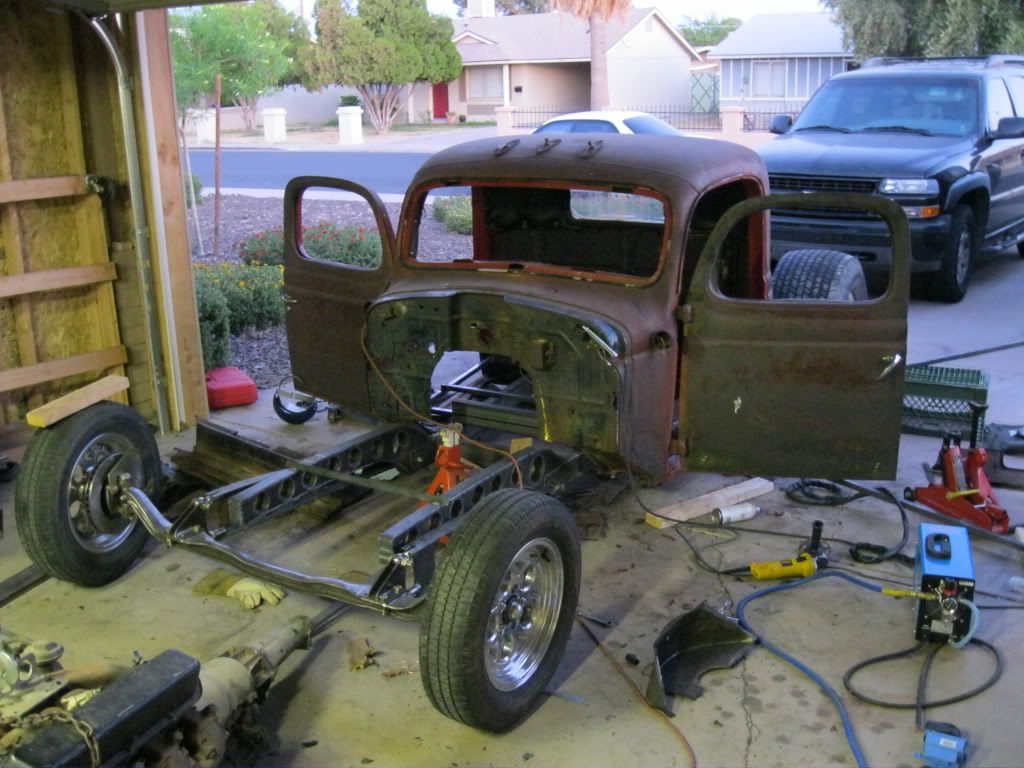
I also trimmed the rockers a bit. I think I need to do more trimming, but it's enough for now. The new "floor" is now sitting on the frame.
IMG_0214.jpg


IMG_0213.jpg


I like the new stance a lot better. When I'm done with the motor mounts, the valve covers will be at the same height as the cowl, which I think would look pretty good. The doors also open and close the same way as before. No door or body seam changed, so I don't think I screwed anything up structurally. LOL
IMG_0218.jpg


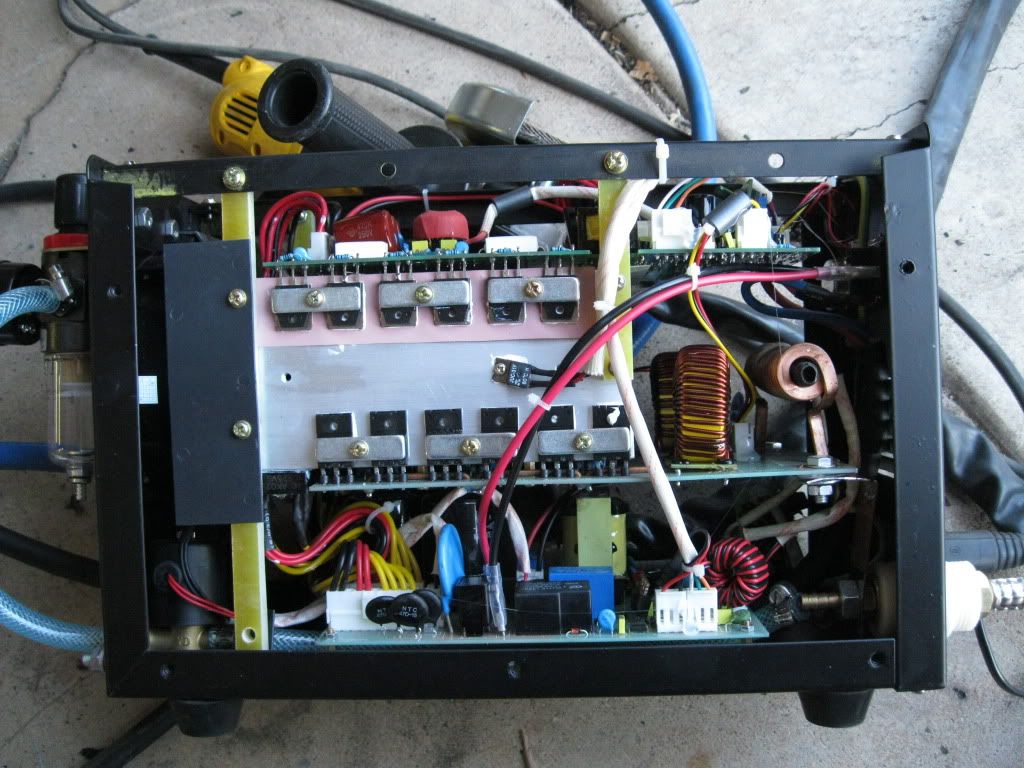
Oh, a funny thing.... I bought a Chinese-made plasma cutter that arrived a couple of days ago. After using it for about 20 minutes, it stopped working. I took it apart and this is what I saw:
IMG_0210.jpg


It's tough to notice it at the first glance, but if you look at the lower right corner of the picture, you can see the piece of 1/4" garden hose that is the air supply has gotten blown off, LOL. All the solder joints, capacitors, resistors and the guts had cheaply made written all over them. This machine is all I had the budget for at the moment and it's working fine now that I fixed it, but it doesn't surprise me that Miller or HTP charge 5-6 times the price (or more) for their plasma cutters.

Thanks for looking! :)
 
If that was my plama cutter, that hose would have been the only thing I could fix. Everything else might as well be magic.
When you start looking for a better one, check the consumables cost. I have a Lincoln Procut 80 which is a great machine, but it is more expensive to run than an oxy- acet torch. The consumbales are expensive and they don't last very long. Friends with HyperTherms and Millers say they rarely change consumables. Where do you get the consumables for that Chinese machine?

The proportions of the Dodge look very similar to my chopped F2. It doesn't have that bubble top look either. Compared to the Chevys and fords I'm used to seeing it already looks chopped. I like it.
 
look'n good :D

Thank you! :)

If that was my plama cutter, that hose would have been the only thing I could fix. Everything else might as well be magic.
When you start looking for a better one, check the consumables cost. I have a Lincoln Procut 80 which is a great machine, but it is more expensive to run than an oxy- acet torch. The consumbales are expensive and they don't last very long. Friends with HyperTherms and Millers say they rarely change consumables. Where do you get the consumables for that Chinese machine?

The proportions of the Dodge look very similar to my chopped F2. It doesn't have that bubble top look either. Compared to the Chevys and fords I'm used to seeing it already looks chopped. I like it.

The electronics are beyond me, too. The only reason I opened up the machine is because air was blasting out of the front and underside of the machine. The eBay seller I got the plasma cutter from also sold consumables. I bought a 40 piece consumable set from him for $30. It seemed like a good price. It should last me a while.

Have you tried a drag cup for your plasma? They're supposed to extend the life of your consumables by a ton.

I'm liking the current stance of the truck more everyday. I'm going to wait until the very last minute to decide if I want to chop or not. At the moment, I feel like chopping is not necessary.
 
I'd say 40 piecs for $30 is very cheap. I spend $14 per change for the consumables on the Lincoln. The average life is about 15 minutes of cutting time. I do use the drag cup whenever possible.

Waiting on the chop makes sense - you can always do it later.
 
Hey, I finally figured out what it is about your frame and radius rods that is so kool ! It reminds me of the Erector set I had as a kid with all the holes.... played with that for hours, always building cars and kooky machines. Training for future rat rod builders perhaps...
 
I agree that it looks great like it is, don’t see any need to chop it.
I’m looking forward to seeing the engine sitting in it.
 
I'd say 40 piecs for $30 is very cheap. I spend $14 per change for the consumables on the Lincoln. The average life is about 15 minutes of cutting time. I do use the drag cup whenever possible.

Waiting on the chop makes sense - you can always do it later.

Wow, that's an expensive machine to run. The Hypertherm 30 we have at work isn't so cheap to run either. We need consumables after cutting roughly 30-40 linear feet of 1/8" steel. I haven't bought the consumables for it, but I don't think they're much cheaper than $14.

I like Thermal Dynamics units a lot. They're also pretty inexpensive to run from what I've seen. My next one will be either one of those, or an HTP to match my two welders.

Hey, I finally figured out what it is about your frame and radius rods that is so kool ! It reminds me of the Erector set I had as a kid with all the holes.... played with that for hours, always building cars and kooky machines. Training for future rat rod builders perhaps...

Hahaha, nice! It does look like an erector set. I never saw it that way.

As a kid, I spend hours everyday playing with Legos. I didn't really play with erector sets, but all I made was cars, too.

I agree that it looks great like it is, don’t see any need to chop it.
I’m looking forward to seeing the engine sitting in it.

It seems like the first step to making a rod is to chop the top, LOL. I guess every rat rod is expected to have a chop nowadays, you know. I'll probably leave it like it is, at least for a while.

I'll have the motor in before the weekend. I didn't get to work on it last night, because by the time I got home yesterday, I was a zombie. We have a pretty important project at work and I've been put in charge of the whole thing. It's pretty stressful, LOL.

I'm a little curious, are you planning on runnig a panhard bar on the front or gonna do sometnig else?

I'll be running a Watt's linkage. I hate panhard bars. LOL

Man this one is shaping up. I see a huge affinity for roundness in your designs. "Meccano" is the keyword, as one reader mentioned.

Thanks man! Most of my spare time goes into this truck. :)
 
I have a hypertherm 380 and the consumables come in a pack of 5 (5electrode, 5 caps etc) and each pack is about $19. They last me about a month or so. The CNC unit is a cutmaster 151 with a machine head and that will chew up a set of consumables in about 16 hours of cut time on 1/4". flame will start to walk around and then you know the electrode is short. But they are $100 fo 30 caps (ie 1 set of 10 ea of 20a, 40a, 80a) and 20 electrodes, and 10 shields.
 
I have a hypertherm 380 and the consumables come in a pack of 5 (5electrode, 5 caps etc) and each pack is about $19. They last me about a month or so. The CNC unit is a cutmaster 151 with a machine head and that will chew up a set of consumables in about 16 hours of cut time on 1/4". flame will start to walk around and then you know the electrode is short. But they are $100 fo 30 caps (ie 1 set of 10 ea of 20a, 40a, 80a) and 20 electrodes, and 10 shields.

16 hours of run time is quite a bit. That's a lot of brackets! :D

----------------------------

I started on the engine mounts today. I also got a few parts water jetted that should keep me busy for a while.

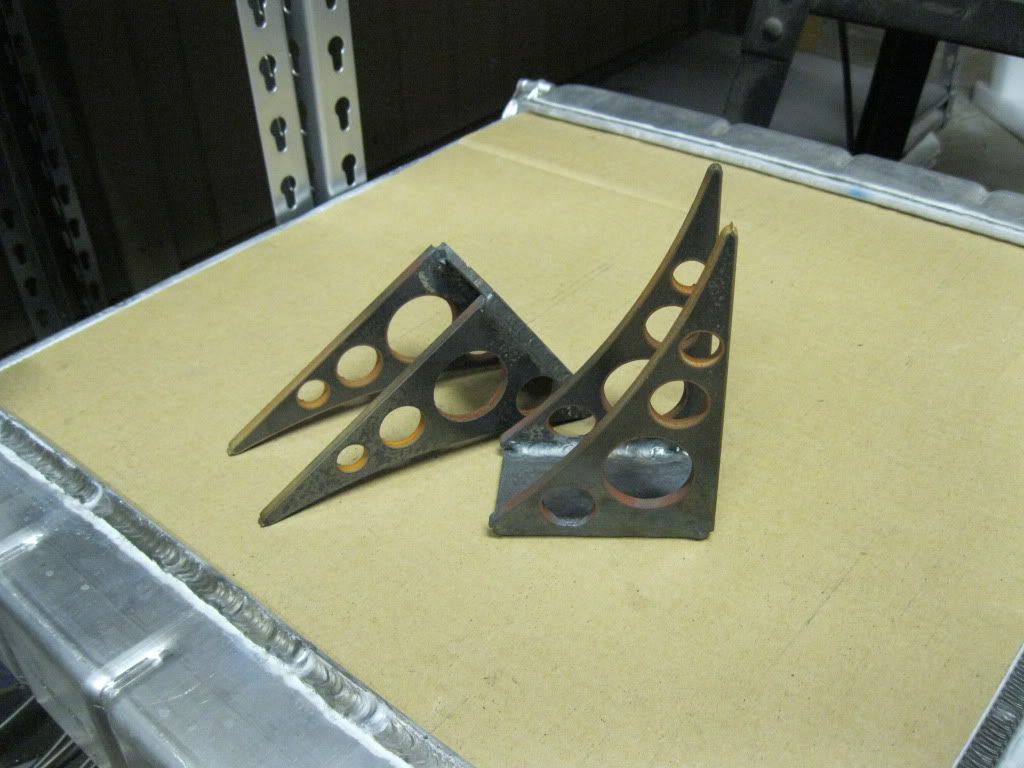
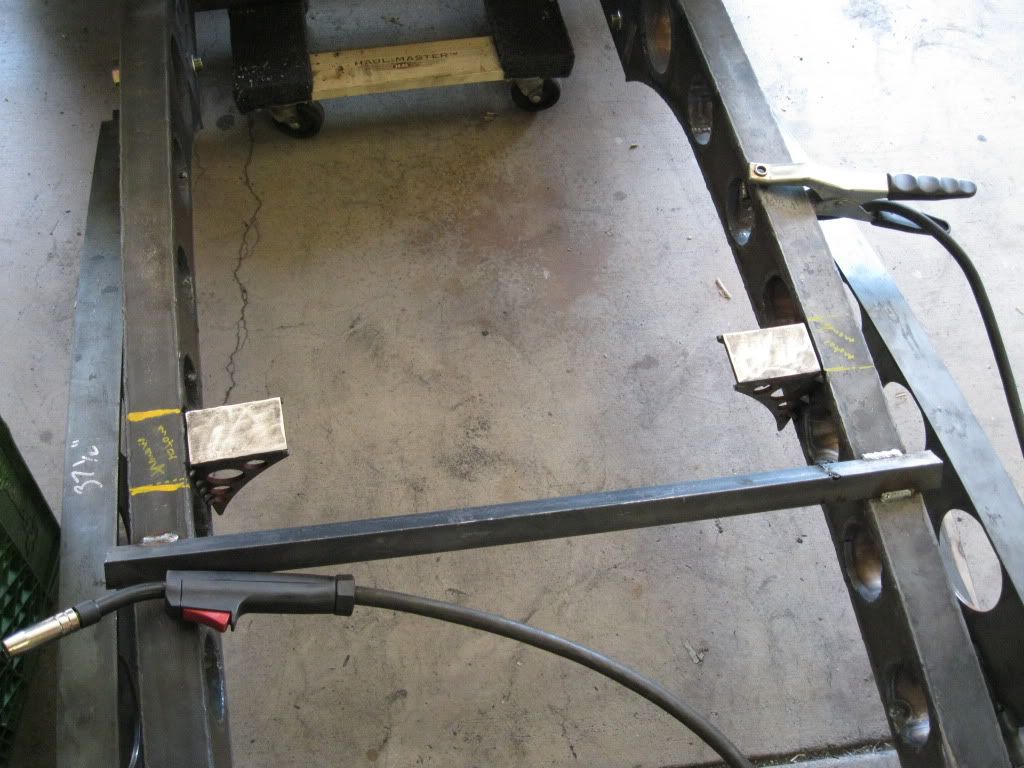
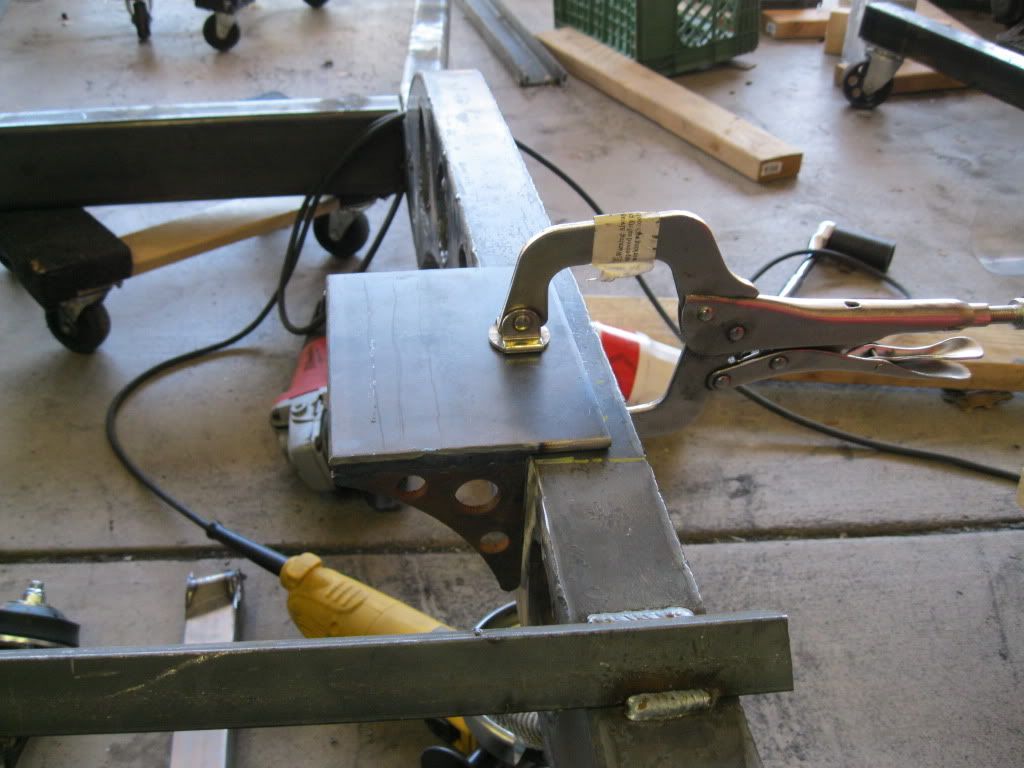
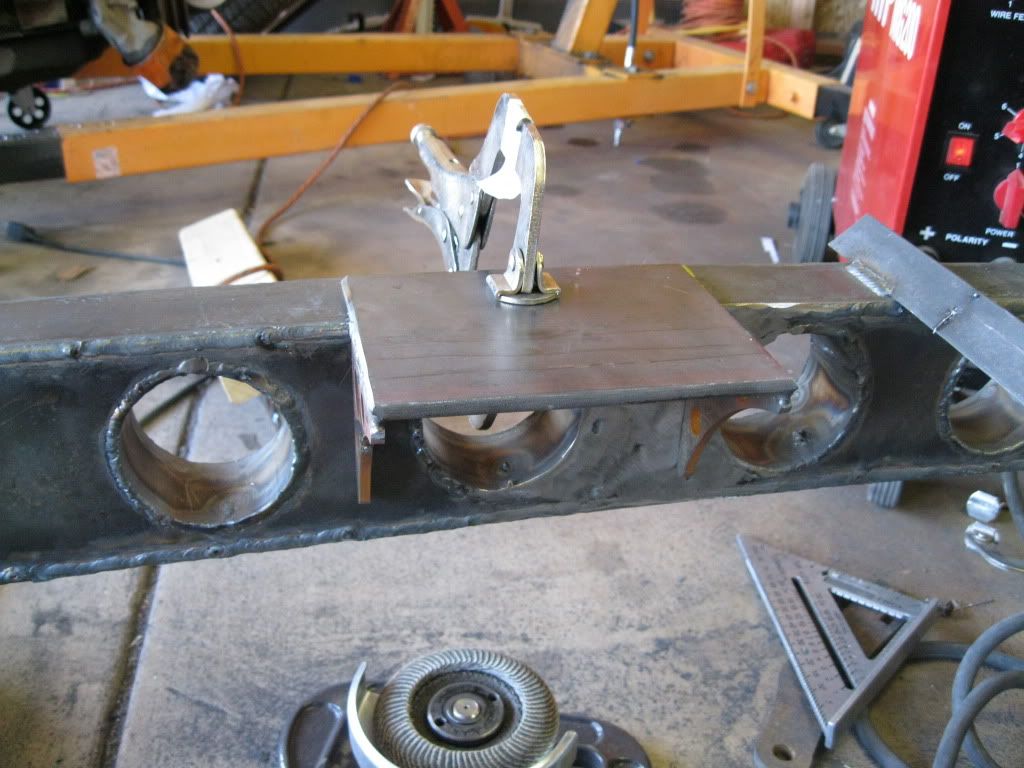
I made these engine mount brackets and tacked them in place.
IMG_0221.jpg


IMG_0226.jpg


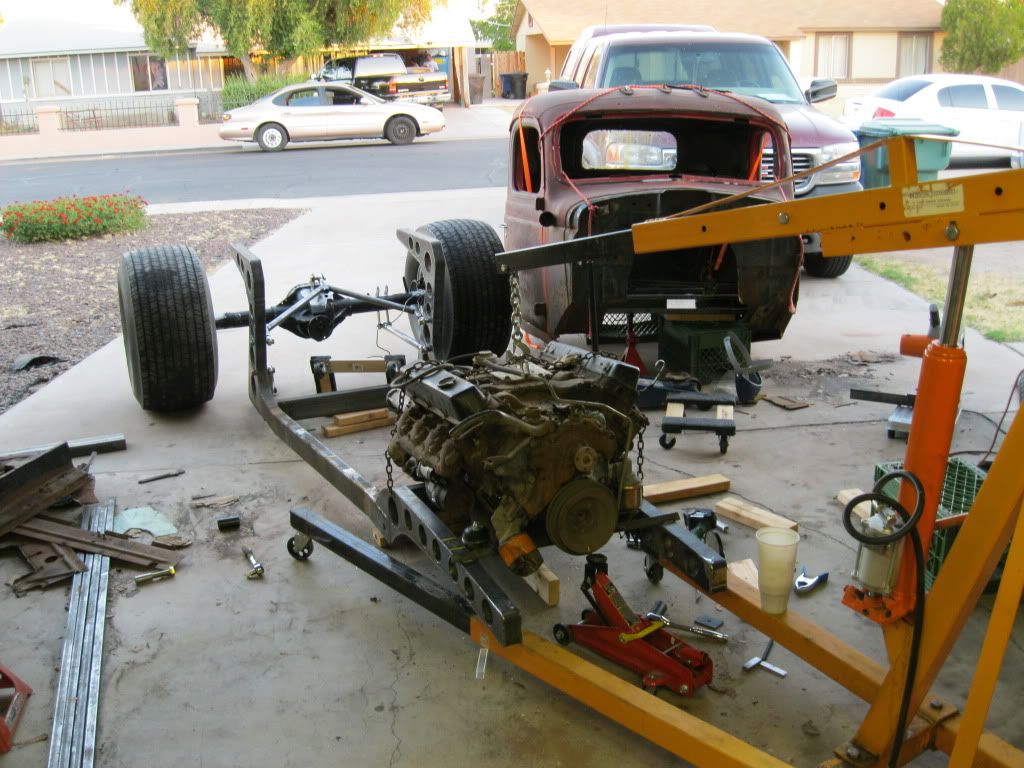
It seems that for every few steps forward, I go backwards a couple. I think the cab was on the frame a few days ago, LOL. Anyways, I put the motor on there just to find out it's too far forward, by about 2".
IMG_0230.jpg


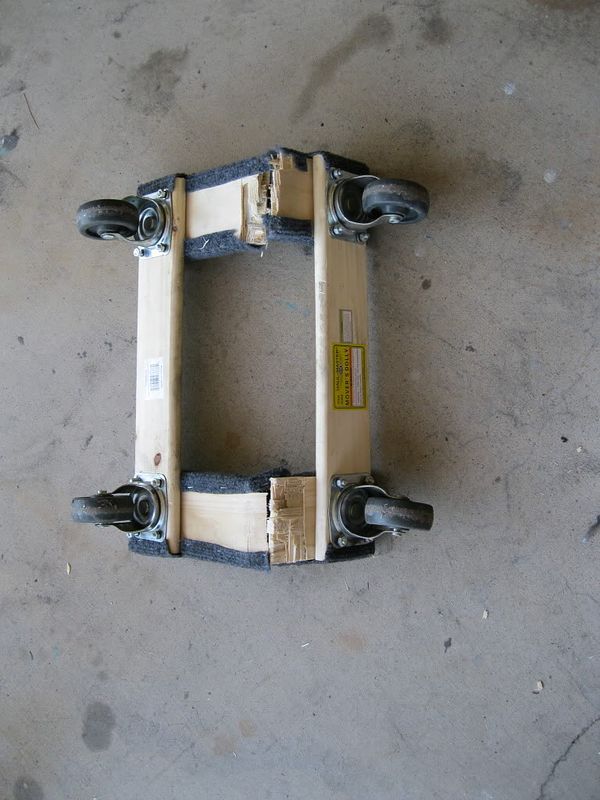
To add insult to injury, another one of these pieces of crap broke, smashing my toe, LOL.
IMG_0229.jpg


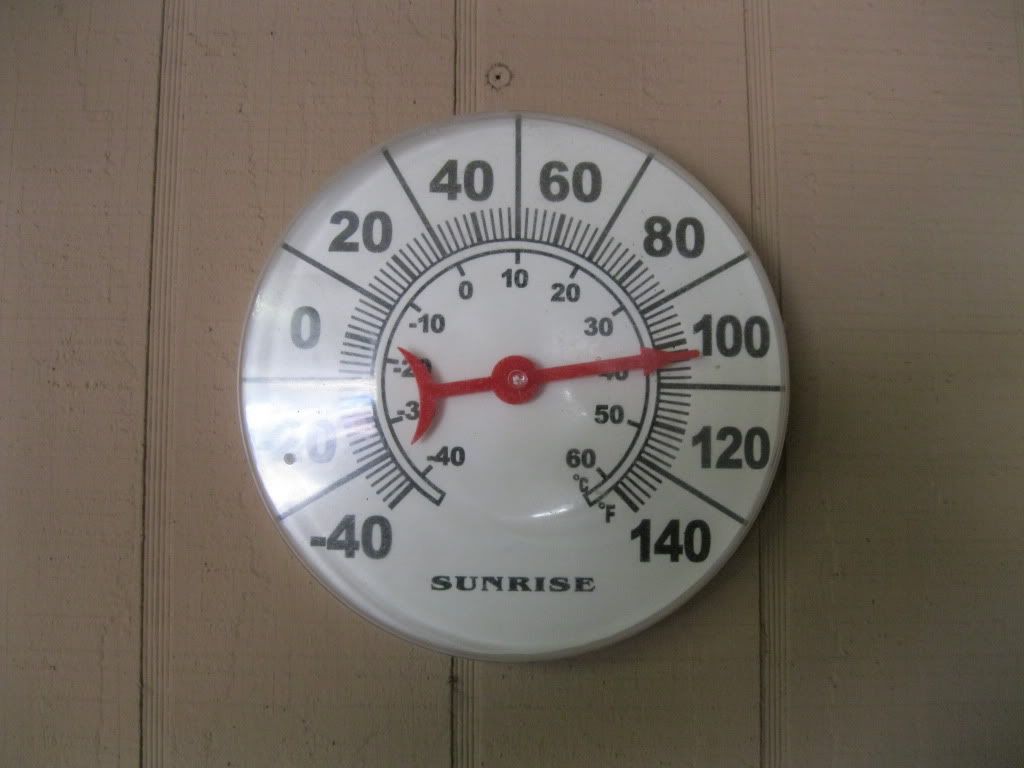
It's kind of hard to think and produce quality work when it's 105ºF in the shop. The word is that hell has been cooler than Arizona lately.
IMG_0227.jpg


I'll cut the mounts tomorrow and move them back a few inches. I may have to remake them, but that shouldn't take too long. I also need to run down to the metal supplier and buy some more steel. Good time! :cool: :rolleyes:

Thanks for looking! :)
 
Motor mounts look good! Maybe it's time to build a metal dolly?
 
Motor mounts look good! Maybe it's time to build a metal dolly?

Thanks. :)

I should have built a metal dollies instead of buying these pieces of crap. The truck will be rolling on its own in a few days, so I won't have to build metal dollies.

Or some pieces of box tube on the shock mounts.

Hey it cooled off today and the humidity is down, feels much better. Isn't it about time to get that window AC unit for your shop?
I actually did buy a portable 10,000 BTU AC system. I haven't used it inside the shop because I always have to work with the door open, and it is too cluttered inside. It was really nice today. I went outside tonight and there was a nice breeze and the temperature was down to probably 90ºF or so. I wish it was like that during the day, LOL.

----------------

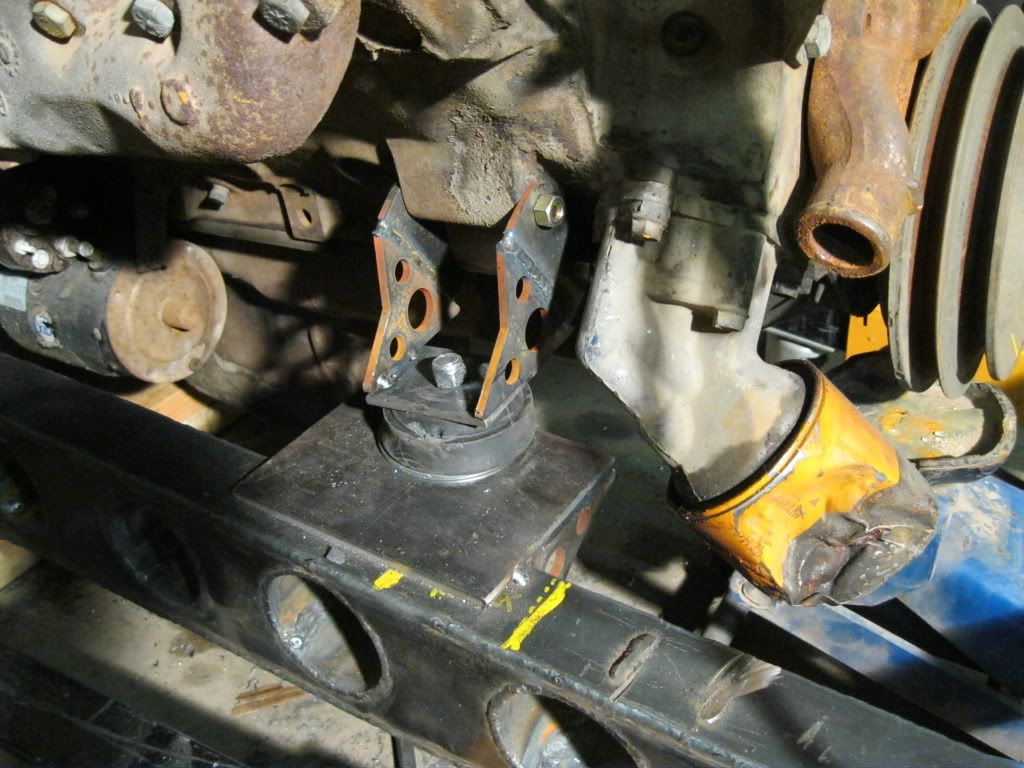
Figured out the motor mounts!!! I have a feeling that the Speedway bellow type mounts will cause me grief in the future. We'll see.

I cut the old mounts off and made these. The top plate is 1/4" thick, 4.5" wide and about 6" long. It's that big for a couple of reason, but mainly because I didn't want to block the lightening hole that the engine mounts over.
IMG_0231.jpg

IMG_0233.jpg


With the mounts tacked in place, I went ahead and drilled them for the bellow mounts and mounted the engine. I don't know if you noticed or not. When I welded the mounts in, it was still light outside; there was still quite a few hours of day light left. By the time I got the engine mounted, it was dark, LOL. These Speedway bellows are a pain. There's so much slop in them.
IMG_0235.jpg

IMG_0237.jpg


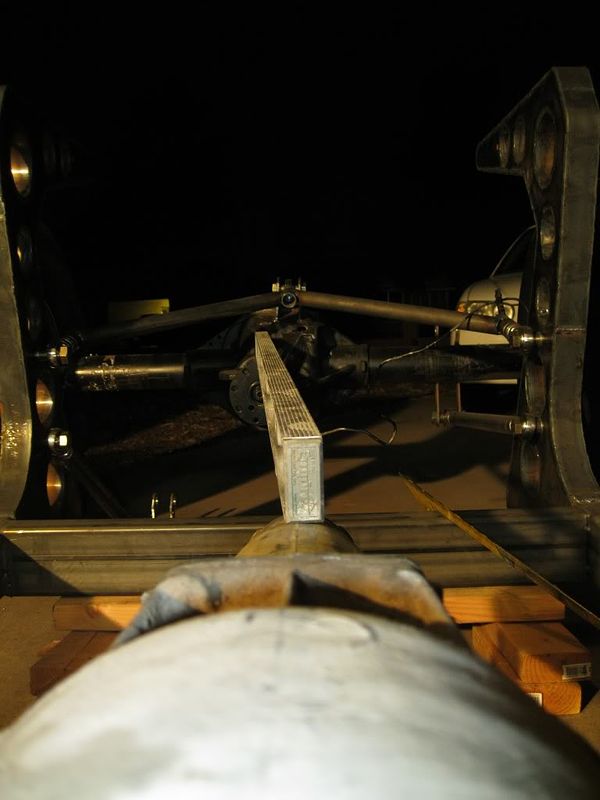
I started looking at the geometry of the driveshaft. The distance from the tranny tailshaft to the pinion flange is 39.5". The pinion on the rearend is offset about 4.5". This yields a ~6.5º angle in the driveshaft. Is this too much for the universal joints? Should I slightly cock the transmission to reduce this angle or would the universal joints be fine with that much misalignment?
IMG_0239.jpg


Thanks for looking! :)
 
looks good motorhead.

i was wondering being i never held one of them rubber motor mounts. do you think it would be a good body mount? i dont know the price differance from a poly but it was a thought. i just noticed yesterday after i put my masking tape drive shaft on that it had an offset, not as much as your though.

i really dont know the answer to your drive shaft. i hope it comes together for you. i thought i seen some one with a 6* drop in a universal before.
 
Are the pinion shaft and the output shaft parallel now? I think angling the tranny to take it out of parallel would not be the ideal solution. 6.5 degrees is more than the info I have recommends, but way less than the lifted trucks use. Hopefully someone who actually knows will come up with the correct answer.

Motor mounts look great.

Cooler today - get lots done!
 
The angle on the engine/trans and the angle on the pinion should be equal and opposite. An example: If the engine is angled down toward the rear at 3 degrees, then the pinion should be angled up 3 degrees. Because of elevation differences between the end of the tailshaft and the pinion, a maximum of 5 degrees in u-joint angle is ok.
Many people get by with more u-joint angle than that, however.
 

Latest posts

Back
Top